Practice
Warrior 3 Pose: The Key to Strength, Balance, and Focus
As a yoga enthusiast who practices regularly, one of the poses that I truly value in my routine is the Warrior 3 pose. It has become a staple for me due to its incredible ability to challenge both my physical strength and mental focus. The Warrior 3 pose, also known as Virasana, combines balance, flexibility, and strength into a single posture that engages almost every muscle group in the body. In my journey, I’ve found that this particular pose offers so much more than just physical benefits—it is also an opportunity to cultivate a deeper connection between body and mind.
In this article, I’ll take you through my experience with the Warrior 3 pose, break down its steps, explore the benefits, and share some tips that have helped me improve in this challenging pose.
A Deeper Look Into the Warrior 3 Pose
The Warrior 3 pose is often seen as one of the more advanced postures, mainly due to the balance required and the stability it demands from the practitioner. It is a standing pose that combines elements of strength, flexibility, and coordination. When performed correctly, the body forms a straight line from the tips of the fingers to the extended toes, with the standing leg acting as a stable base. For me, one of the most powerful aspects of this pose is how it requires total concentration and control over both body and mind.
The Warrior 3 pose is not just a physical challenge; it also has profound mental benefits. It demands focus and patience, and these mental qualities translate into every area of life, teaching me to stay grounded even in stressful situations. Through consistent practice, I have learned to embrace the challenges of this pose and use it as a metaphor for overcoming obstacles in life.
How to Execute the Warrior 3 Pose
It may seem difficult at first, but with the right guidance and technique, anyone can begin to practice the Warrior 3 pose. Below, I’ll walk you through each step, based on what has worked best for me as I refined my practice over the years.
Step 1: Start with Proper Alignment in Warrior 1
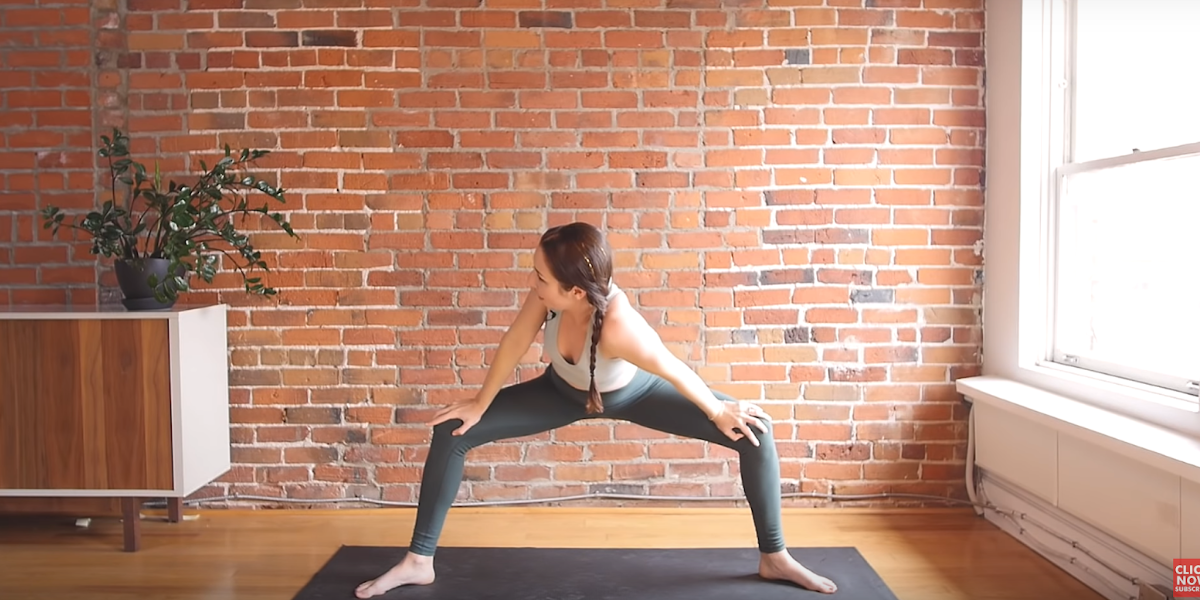
The foundation for a successful Warrior 3 pose begins with Warrior 1. Start by positioning yourself in a wide stance, one leg extended forward and the other leg stretched out behind you, with the toes pointing forward. Your feet should be about hip-width apart. Make sure your front knee is bent, and your torso should be upright with your arms stretched overhead, palms facing each other.
By beginning with Warrior 1, you prepare your body for the transition into Warrior 3, ensuring that your body is already engaged and aligned. In my practice, I find that setting a solid foundation with this preliminary pose allows me to move smoothly into the more demanding Warrior 3.
Step 2: Engage Your Core
Before transitioning into the Warrior 3 pose, I always engage my core muscles. Drawing the navel toward the spine and lifting the pelvic floor creates stability and strength, both of which are crucial for maintaining balance in Warrior 3. Engaging the core helps protect the lower back and supports the alignment of the entire body, making it easier to hold the pose for a longer period.
Step 3: Begin the Shift of Weight
The next step is to gradually shift your weight onto the standing leg. Slowly start to lift your back leg off the floor, being careful not to let your hips open up or your body collapse. As you raise the back leg, ensure that your standing leg remains strong and stable. For me, focusing on maintaining a firm connection with the ground through the standing leg has been the key to keeping my balance.
Step 4: Extend Your Body and Reach for the Sky
Once your back leg is raised, extend it behind you, keeping it as parallel to the floor as possible. At the same time, lean your torso forward to maintain a straight line from the tips of your fingers to the toes of your lifted leg. In this stage, your body should resemble the letter “T,” with both arms either reaching forward or along your body. Personally, I find that extending my arms straight ahead gives me more stability and helps me hold the position longer.
Step 5: Hold the Pose and Focus on Your Breath
At this point, you are fully engaged in the Warrior 3 pose. Hold the position while breathing steadily and focusing your gaze on a fixed point in front of you. This focus on a single point helps you maintain balance and concentration, a mental practice that is as important as the physical. I find that the longer I hold the Warrior 3 pose, the more I can feel my body strengthening and my mind becoming clearer.
Step 6: Transition Back to Warrior 1
To exit the pose, slowly lower your back leg back to the ground, returning to the Warrior 1 pose. Take a deep breath and relax, allowing your body to release the tension it built up during the pose. This gentle transition helps maintain control and avoid any strain.
The Benefits of Warrior 3 Pose
In my personal experience, the Warrior 3 pose offers a multitude of benefits for both body and mind. It’s not just about physical strength; it’s also a powerful practice for mental clarity and focus.
1. Improved Balance and Stability
As one of the key elements of the Warrior 3 pose, balance is something I continually work on. Practicing this pose regularly has significantly improved my ability to balance, not just in yoga, but in other physical activities as well. The constant effort to align the body in a straight line builds stability, both mentally and physically.
2. Strengthens Core, Legs, and Glutes
The Warrior 3 pose targets several key muscle groups. For me, the most noticeable benefit has been the strengthening of my core, legs, and glutes. The standing leg is heavily engaged, which tones the muscles in the legs, while the raised leg also works to improve flexibility. At the same time, the core remains engaged to maintain balance, leading to stronger abdominal and back muscles.
3. Enhances Mental Focus
In addition to its physical benefits, the Warrior 3 pose is a practice in mindfulness and concentration. Every time I perform the pose, I must focus intently on my breath and balance. This mental concentration often extends beyond the mat, helping me develop a clearer and more focused mindset in my daily life. The practice teaches patience and perseverance, qualities that I carry with me in all aspects of my life.
4. Improves Posture and Alignment
Maintaining proper posture is essential for overall health, and Warrior 3 has helped me become more aware of my body’s alignment. By practicing this pose, I’ve noticed a significant improvement in my posture, both on the mat and in everyday life. The pose encourages lengthening of the spine and activation of the back muscles, which has led to better posture and less tension in my shoulders and neck.
Tips for Mastering Warrior 3 Pose
While Warrior 3 can be difficult, especially when you’re first starting out, there are some tips that can help make it easier.
- Focus on a fixed point: Keep your gaze focused on one point in front of you. This will help you stay steady and reduce the wobble.
- Engage your core: Engaging your core is vital for balance. I’ve learned that it’s not just about the standing leg, but also the abdominal muscles that help support the pose.
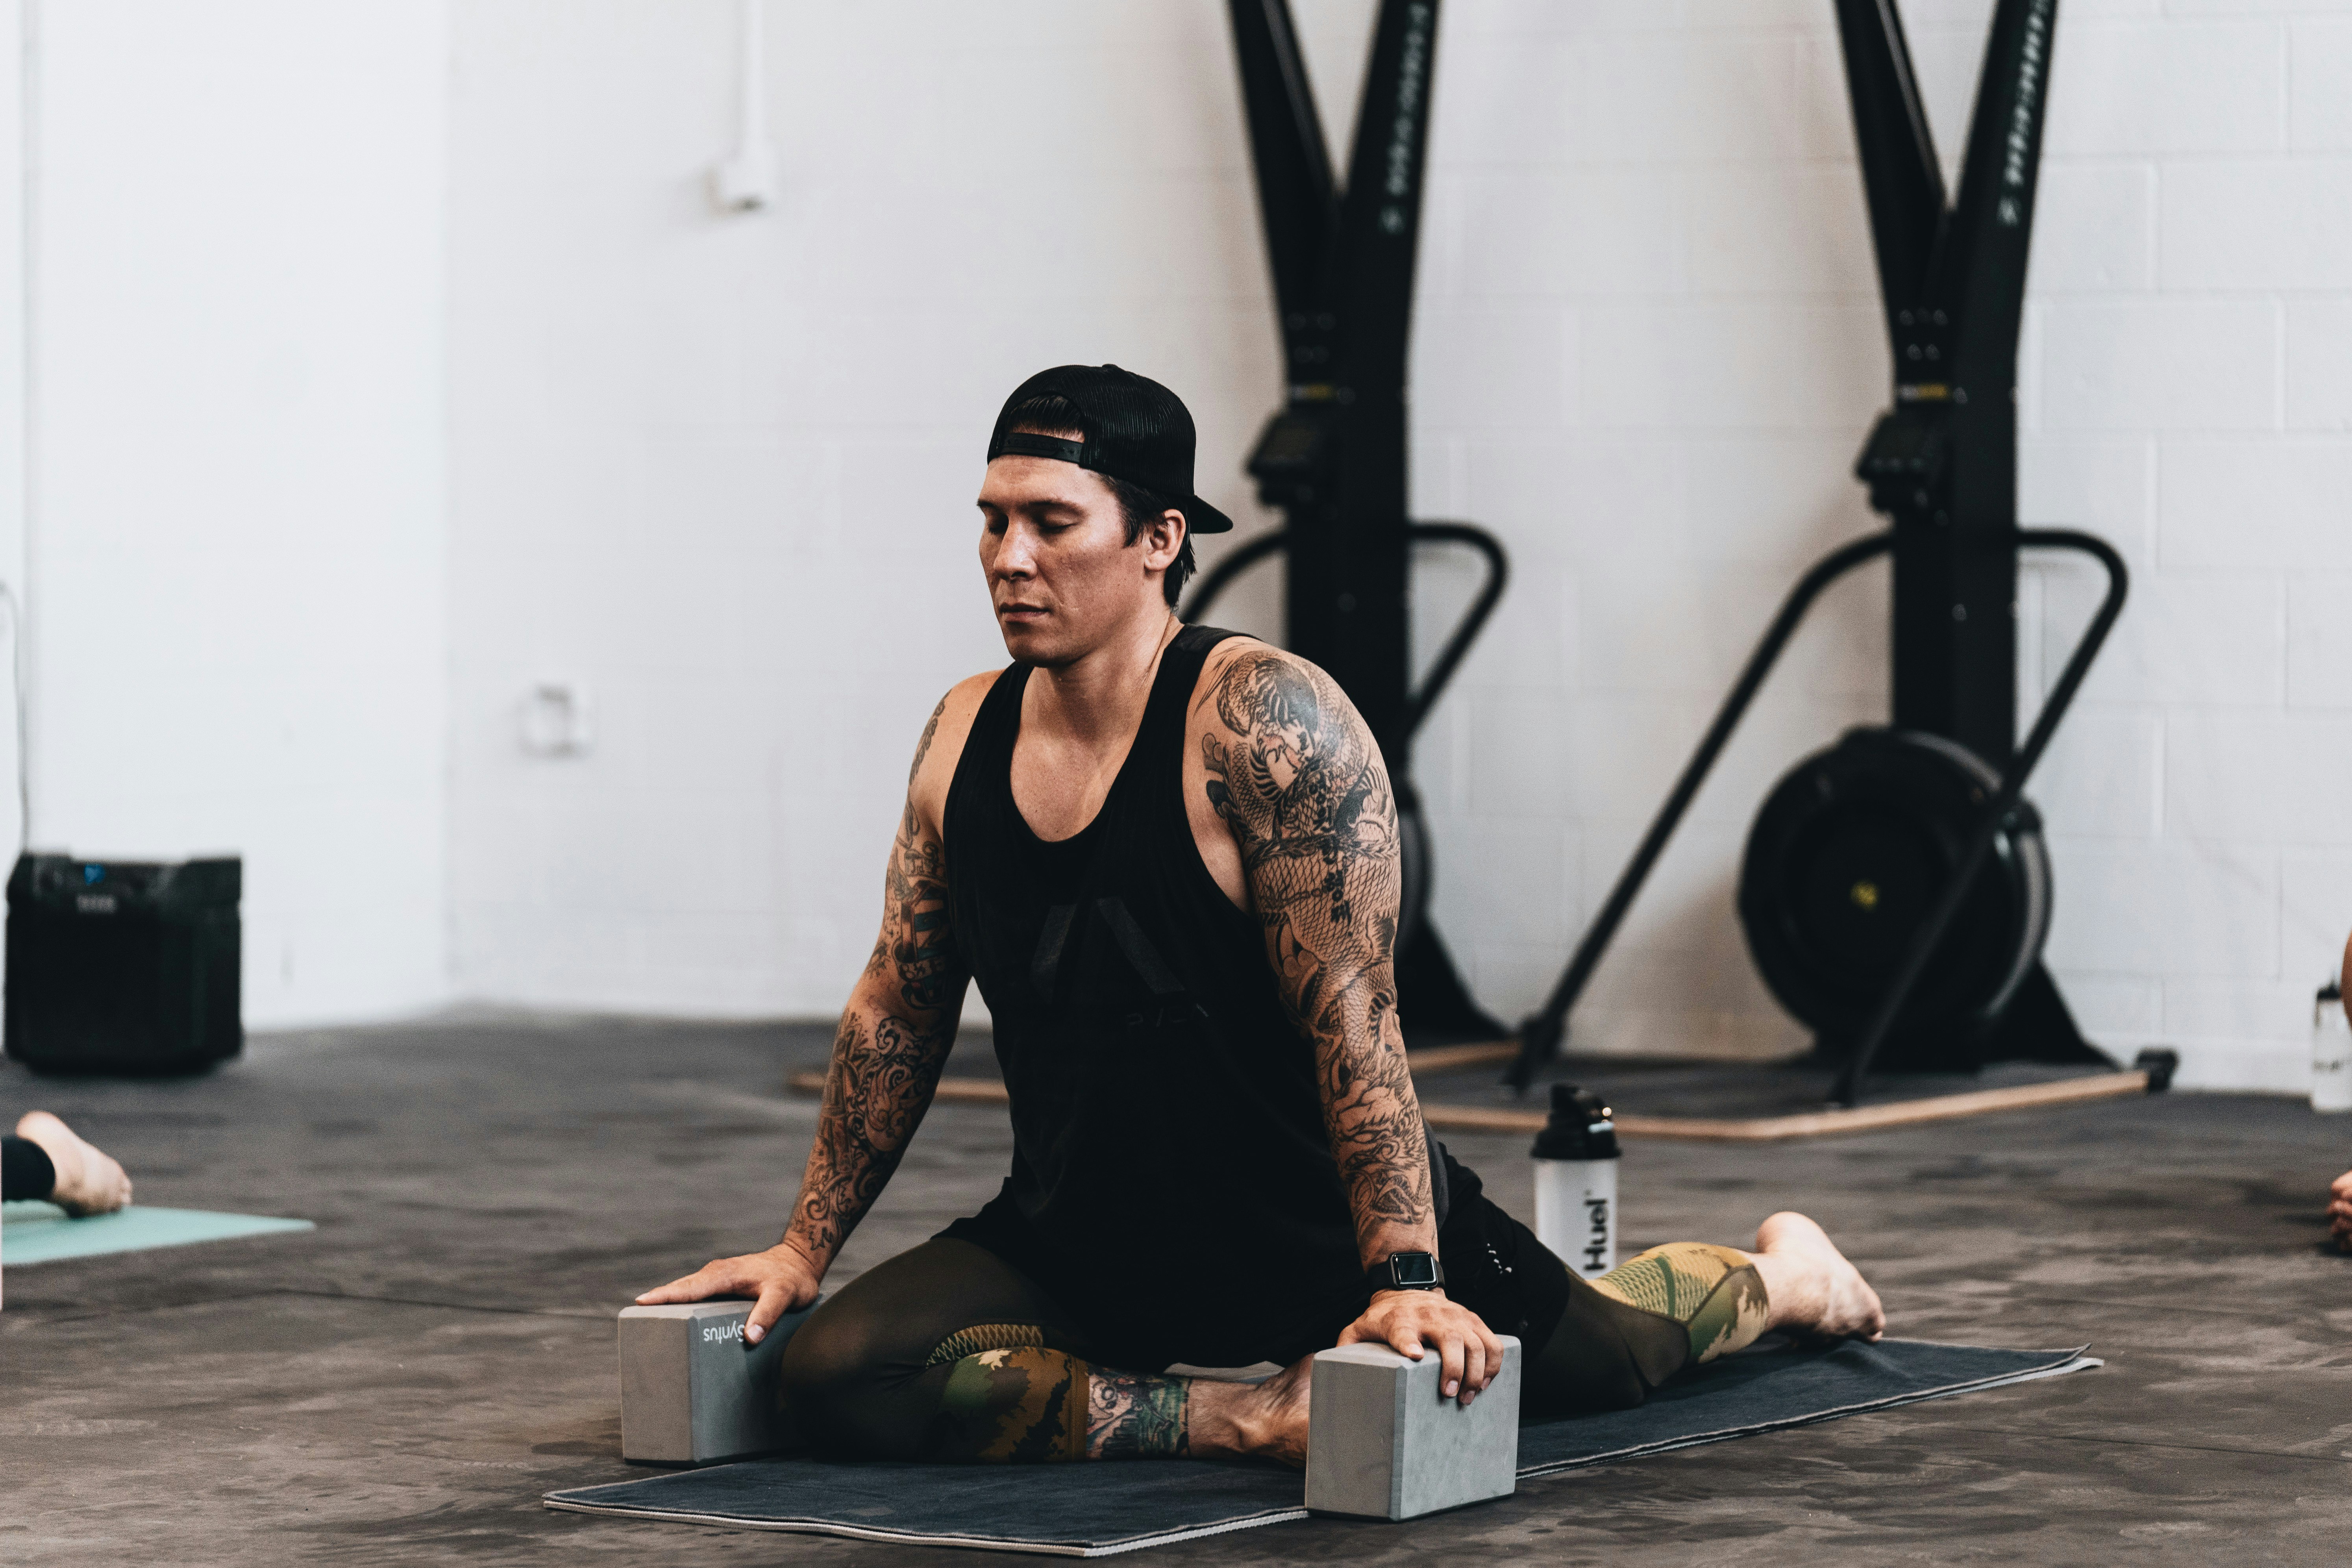
- Use props for support: If you’re struggling with balance, consider using a block or wall to support your hands or leg as you build strength.
Final Thoughts
The Warrior 3 pose is a challenging yet rewarding posture in yoga. It has played a significant role in enhancing my physical strength, mental focus, and overall mindfulness. Through consistent practice, I’ve witnessed not only improvements in my yoga practice but also in my daily life. Whether you’re looking to improve your balance, strengthen your core, or cultivate mental clarity, the Warrior 3 pose is a fantastic addition to any yoga practice. With patience and dedication, I believe anyone can benefit from incorporating this powerful pose into their routine.
How to Build a Consistent Yoga Practice for Beginners
Beginner Yoga Guide: Top 5 Essential Poses to Get You Started

The Truth About Teaching Yoga Poses You Can’t Do

How Social Media Is Transforming Yoga—for Better or Worse

Cheap Ways to Stay Fit This Summer

Perfecting Your Yoga Poses: A Journey of Growth
Yoga for Flexibility: My Personal Story of Gaining Freedom in Body and Mind
The Truth About Teaching Yoga Poses You Can’t Do

Types of Yoga Teachers in Modern Times

Tips to Lead a Successful Yoga Audition

Who is a Dedicated Yoga Practitioner?
